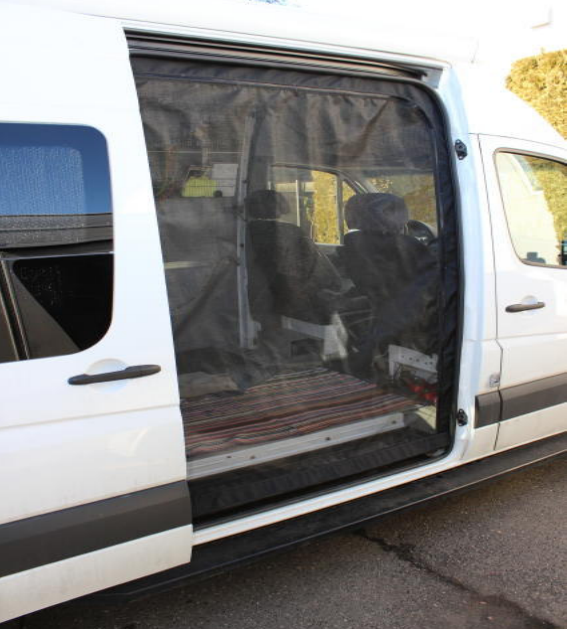
Slider and Rear door screen installation

Pull the existing door gasket out off of the pinch weld.
Starting on the bottom kick plate area position the screen how you would like it to sit at the bottom of the opening, slip the screen material under the gasket then reinstall the gasket working your way around the opening.
Work the left and right sides, working your way up to the middle top of the opening. At first, you may want to use a spring folder clamp from an office supply store and make sure it is lined up the way you want then go back and firmly push the gasket back into place, and the gasket will hold the screen in place in the opening. The rear screens install in the same basic way it was removed.
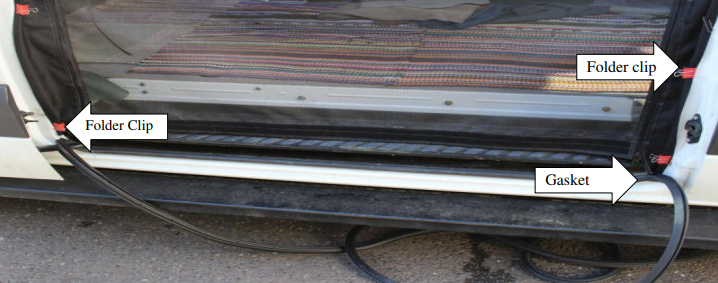
As you install the screen it will be helpful to have an extra set of hands to help hold the gasket in place until you have worked your way completely around the gasket and have it completely reinstalled.
There is Velcro strap sewn to the top of the screen on the inside and that is designed to add security and keep it in place, simply stick the supplied Velcro on the metal above the door opening on the inside. It is there mostly to support the extra weight of the optional patio door that is available.
The bottom is now supplied with an adjustable sweep so you have a couple of inches of adjustment to make sure you can get a good seal on the bottom of the screen.
Please take some time to train the binding so it does not catch in the zipper, if it does back the zipper up and bend the binding away from the edge of the zipper.
Screens come with a one year warranty against manufacturer defects. Does not include damage!
The screen will have to be sent back to the manufacturer and if it is deemed as a manufacturer defect a new screen will be sent out.