
How to Install Sprinter's Engine Cooler
Nov 03, 2025
If improving the longevity and efficiency of your Sprinter van’s engine is important to you, installing an oil cooler is a perfect way to reduce oil temperatures and keep performance optimal. Sprinter Engine Oil Cooler provides a process that is streamlined for installation with all the necessary components included. This step-by-step guide covers everything—from gathering your tools to completing final checks.
Necessary Tools
Before starting, confirm you have the following:
- Flashlight / Headlamp
- Wrench for oil filters
- Tool for body clip
- Sockets: 8mm, 10mm, 13mm, Torx T25 and T30, Inverted Torx E10 (or 8mm)
- 1” Stubby wrench or AN wrench
- Drill
- Drill bits: 1/8" (0.125”), 3/8” (0.375”)
- Marker or Sharpie
The process will be smoother and help you avoid unnecessary interruptions by having all available to you.
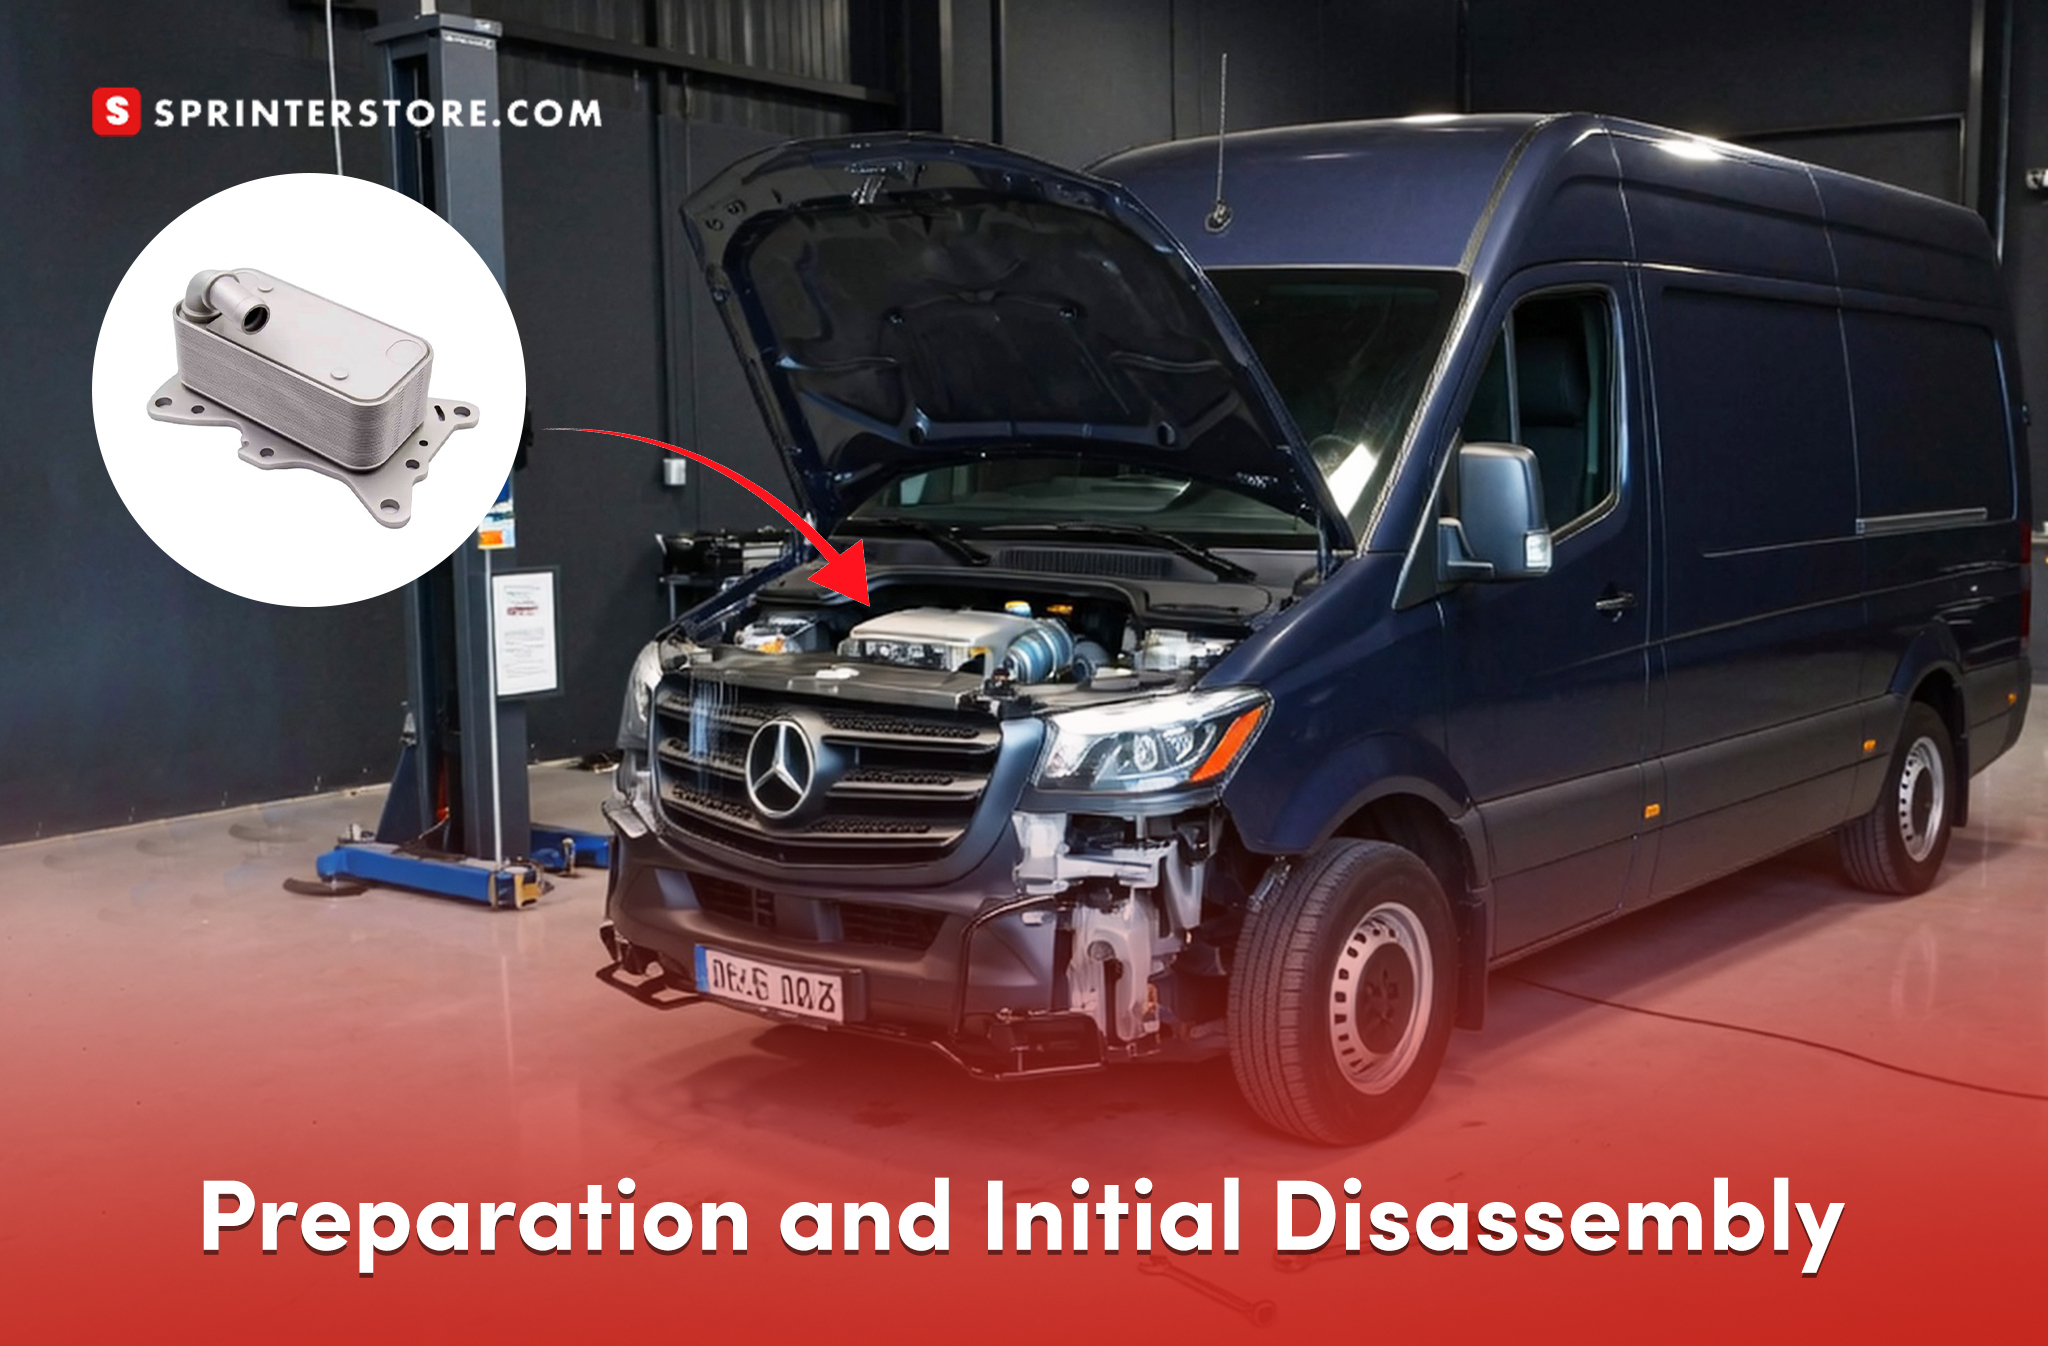
Step 1: Preparation and Initial Disassembly
- (if applicable) Find the oil filter housing and power steering reservoir.
- Loosen the oil filter cap to allow oil to drain out of the oil filter area.
- Remove the front bumper:
- Take out plastic clips (two underneath per side, four in the fender well per side).
- Unplug parking sensor harness and fog lights.
- Remove the three Torx screws at the top of the grille.
- Remove two additional Torx screws behind the grille (midway down and vertical).
- Set the bumper aside in a safe place.
Step 2: Mounting the Oil Cooler

- Use the template that is supplied to locate the drilling points under the top section of the core support. If a vertical support is present, use it to help center the drill template.
- Secure the template using tape or glue it to cardstock for extra stability.
- Drill all four holes with a 1/8” drill bit.
- Remove the paper template and enlarge the holes with a 3/8” drill bit.
- Install the nut serts:
- Thread the nut sert onto the M6 screw with the installation tool in the correct order (SAE washer > floating aluminum hex 13mm > star washer > nut sert).
- Insert the assembly into the drilled hole and tighten with a 10mm wrench while holding the hex tool in place.
- Repeat for all four holes.
- Bolt the cooler brackets to the oil cooler using the M6 x 8mm hardware (leave loose at this stage).
- The bottom fitting (inlet) should be mounted on the passenger side of the van.
- Attach rubber isolators to the nut serts in the core support (do not overtighten).
- Mount the cooler to the rubber isolators using M6 nyloc nuts and washers.
- Center the cooler and check that the isolators are aligned before tightening all hardware.
For easier access in the next steps, it’s recommended to remove the windshield washer fluid bottle.
Step 3: Removing the Oil Filter Housing and Preparing for Installation
- Remove the bolts securing the power steering reservoir (skip if using electric assist power steering). In total there are three bolts : left, right, and rear (E10 or 8mm socket).
- Remove the bolts from the upper bracket on the oil filter housing (short 90-degree tab with two E10 or 8mm bolts).
- Place a rag over belts and pulleys to prevent oil from spilling.
- Clean the area above and below the oil filter housing to avoid debris contamination.
- Remove the oil filter cap and oil filter.
- Unscrew the three bolts securing the oil filter housing (T40 socket) and remove the housing.
- Drain any residual oil while keeping the rubber gasket on the engine.
- Install the 90-degree AN10 O-ring fittings into the oil filter sandwich block.
- Position the rubber gasket into the oil filter sandwich block and attach it loosely to the oil filter housing using the supplied M8 x 58mm bolts.
- Reinstall the oil filter housing, making sure the sandwich block is properly aligned.
- Evenly tighten all three M8 bolts while compressing the gaskets.
Step 4: Reinstalling the Power Steering Reservoir and Mounting Brackets
- Replace the font power steering reservoir to the oil filter housing but do not fully tighten yet.
- Adjust the bottom hose if necessary by unfastening its clamp and moving it down approximately 3/16”.
- Replace the front power steering reservoir tab with the provided three-bolt bracket.
- Reinstall the oil filter and oil filter cap.
- Secure the rear power steering reservoir tab using the supplied two-bolt bracket.
- Tighten all power steering reservoir bolts.
Step 5: Routing and Securing the Oil Cooler Lines
- Locate the "OUT" and "IN" ports on the oil filter sandwich block
- Propely route the oil flow:
- Oil should flow OUT of the engine → Into the bottom of the oil cooler → Leaves from the top of the oil cooler → Returns INTO the engine.
- Ensure the check valve hinge is in the upright position and lock it in place with a zip tie.
- Attach the AN10 x 22mm O-ring fittings to the engine oil cooler.
- Connect the 180° fitting at the bottom of the cooler and guide the oil line from the passenger side (right) to the driver side (left).
Cut and assemble the oil lines:
- Mock up the fittings and mark hose lengths.
- Cut hoses to the appropriate sizes , keeping routing smooth without sharp edges or pinch points.
- Install hose clamps and crimp securely.
- Fasten hoses with zip ties to prevent contact with sharp edges or moving co
Step 6: Final Checks and Reassembly
- Double-check all bolts and hoses are tight and secure.
- Confirm that the low oil pressure warning does not appear when starting van.
- Double-check for oil leaks.
- Top off oil as required (the oil cooler kit requires approximately one additional quart of oil).
- Confirm all parts are back in place by reinstalling the front bumper, parking sensor plug, fog light plugs, and any additional components.
Give the system a final look
Your Sprinter van is now equipped with the Sprinter's Engine Cooler, Congratulations! Your engine will now run smoothly due to the low oil temperatures in rugged conditions and long excursions!